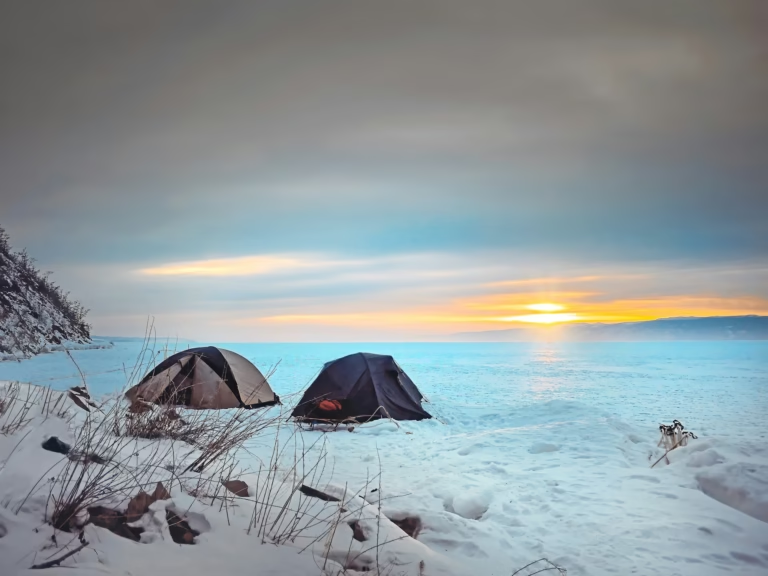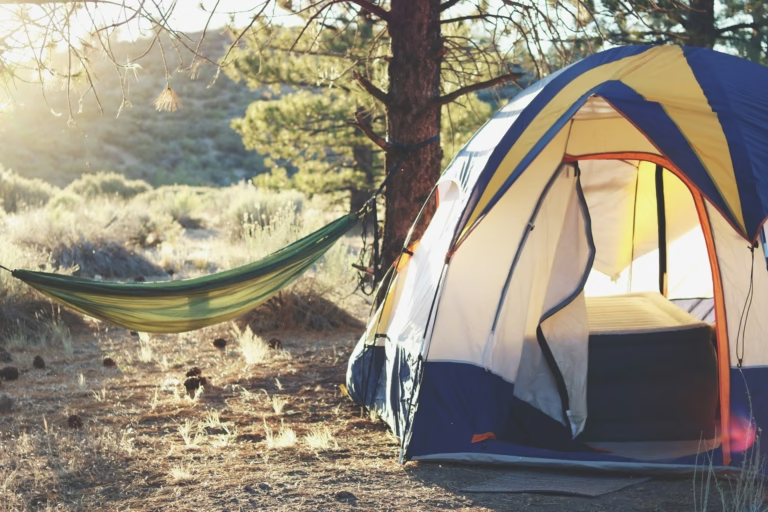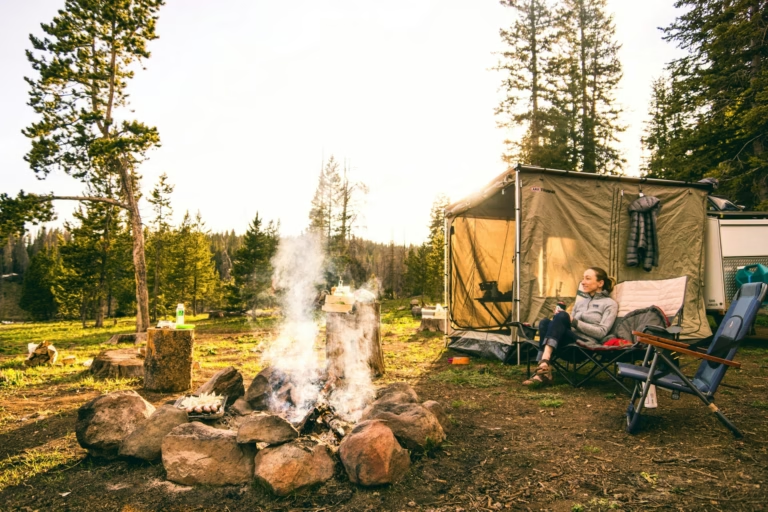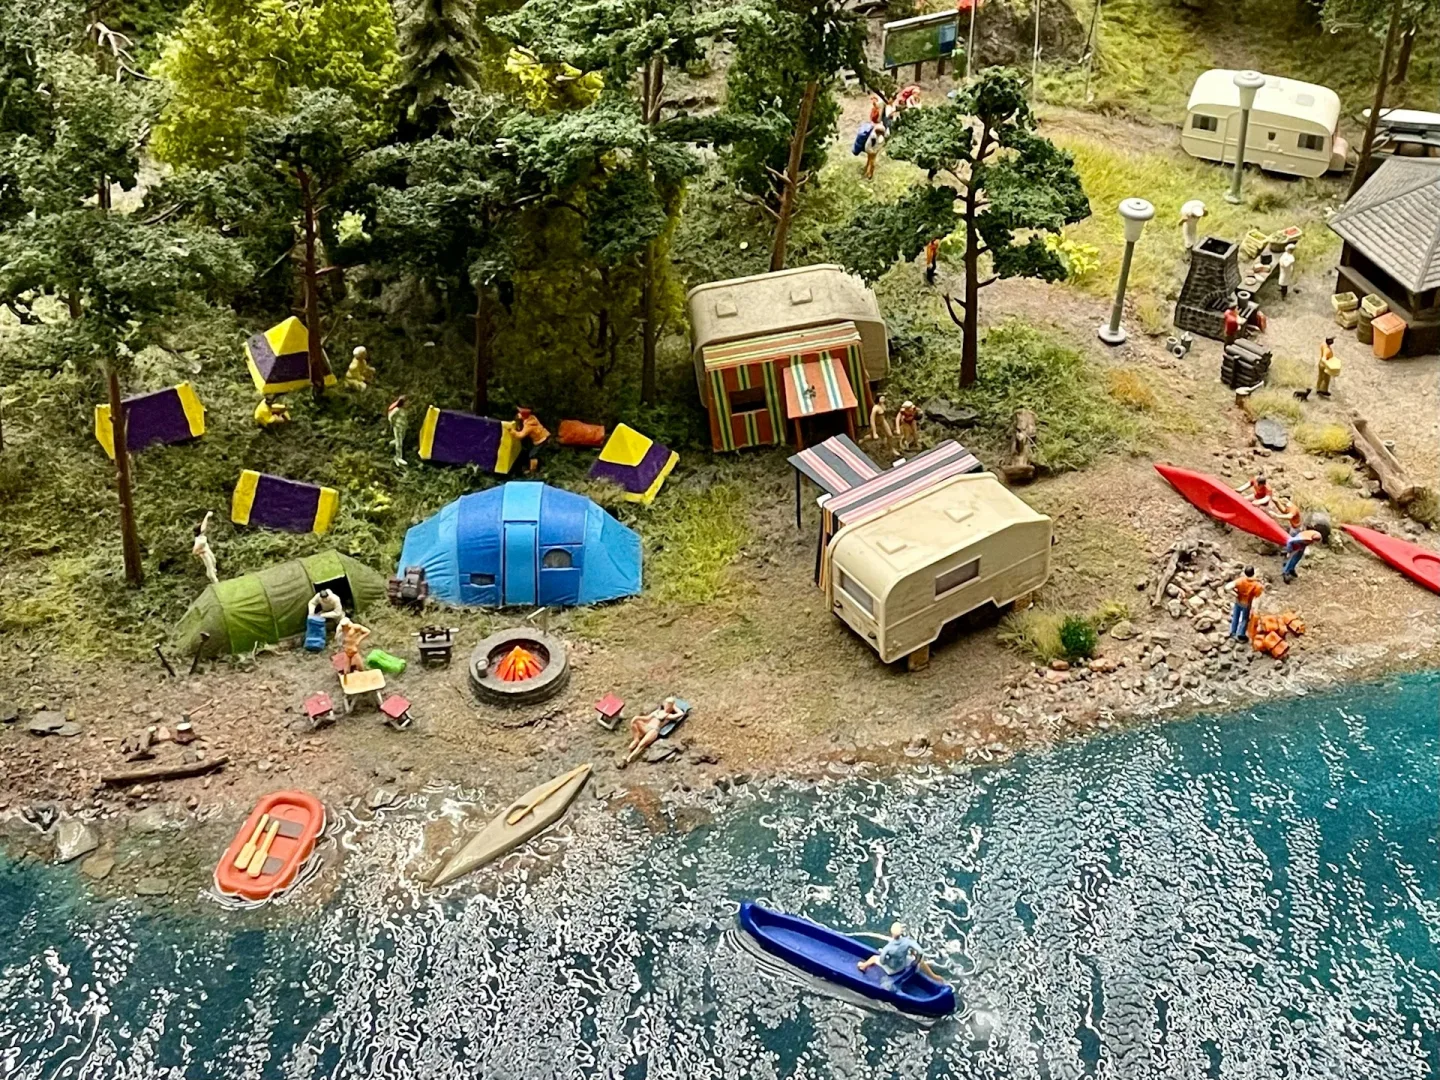


The way you set up a campsite in the first hour determines how comfortable, safe, and enjoyable the entire trip will be. Most beginner campers learn this the hard way, pitching the tent in the first open spot they see, only to discover at midnight that the ground drains right through their sleeping pad, or that the wind is hitting the tent door all night, or that the kitchen is so close to the tent that every meal smell lingers until morning.
Setting up a campsite is the process of organizing your camping area into functional zones before you settle in, covering sleeping, cooking, food storage, fire, washing, and gear, all positioned with safety, comfort, and camp flow in mind. Think of it less like unpacking a car and more like arranging a temporary home outdoors.
This guide walks through every step of how to set up a campsite the right way, from choosing your spot to doing a safety check before dark. Whether it's your first trip or your fiftieth, the same logic applies: plan the layout first, then build it out systematically.
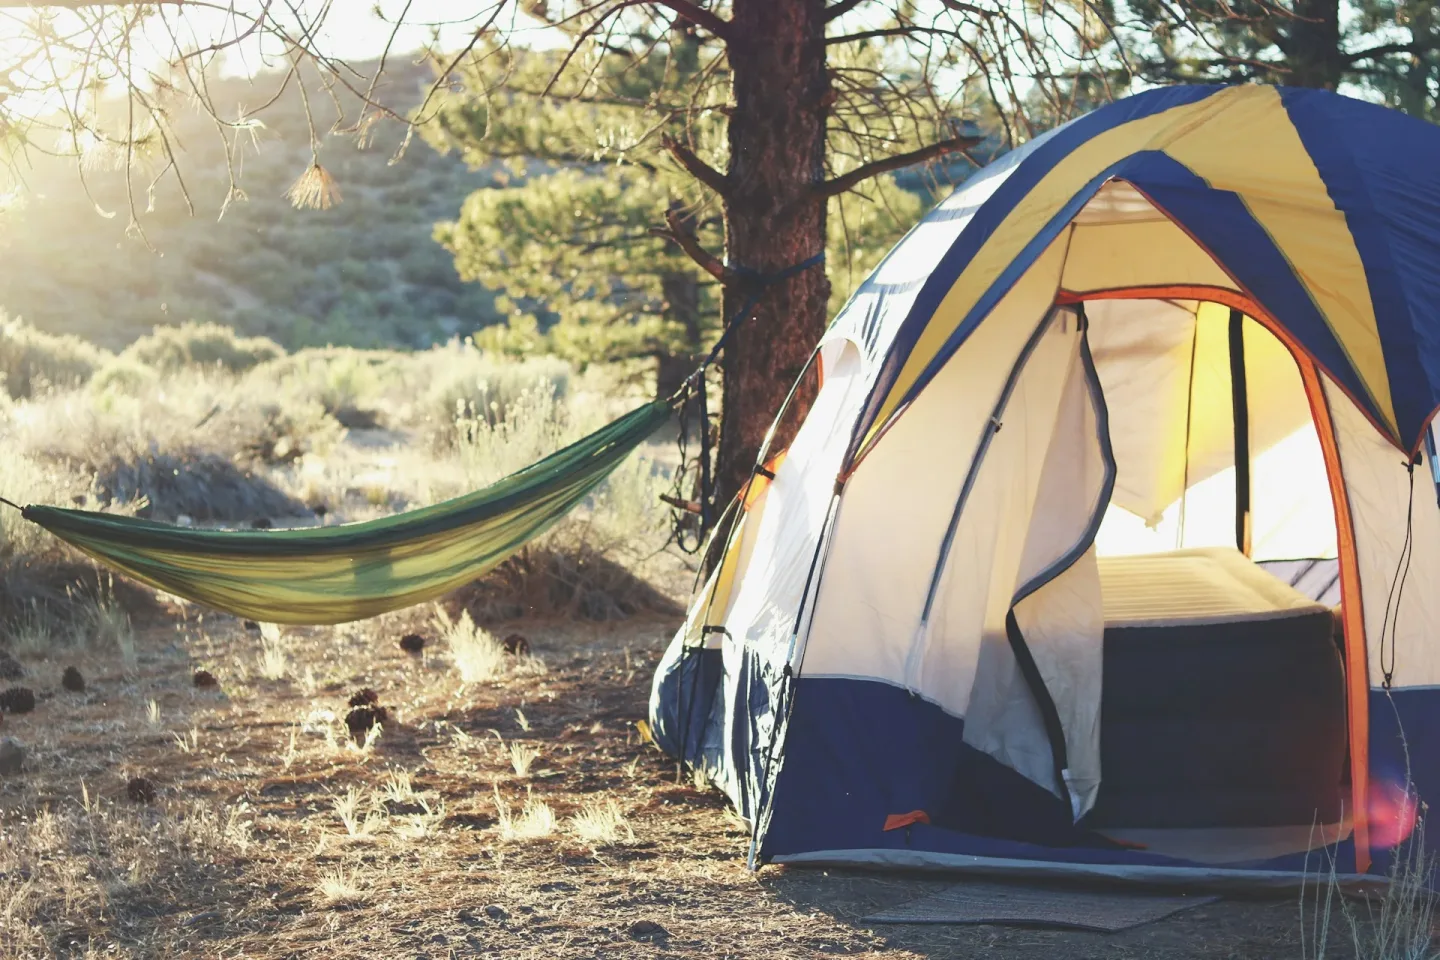
Why Does Campsite Setup Matter More Than Most Campers Realize?
A well-organized campsite affects everything: how well you sleep, how safely you cook, how dry your gear stays, and how smoothly the trip flows from morning coffee to evening fire. Improper campsite setup is one of the leading causes of both preventable campsite damage and wildlife conflicts in national parks, and both problems start before the first tent pole goes in.
The core issue for most beginners is pitching the tent first without thinking about anything else. Once the tent is up in the wrong spot, everything else gets arranged around a bad decision: the kitchen ends up too close to the sleeping area, the fire pit is downwind of the tent, there's no clear path to the water source, and the whole camp becomes cluttered and reactive instead of organized and intentional.
The best way to set up a campsite is to treat it as separate zones before you pitch anything:
- Sleeping zone: tent, sleeping pads, overnight gear
- Cooking zone: stove, prep surface, cookware
- Food storage zone: bear canister, hang bag, or food locker, away from sleep and cook areas
- Fire zone: fire ring or pit, seating, firewood
- Washing zone: dishwashing basin, hand wash station
- Gear zone: packs, shoes, dry bags
Getting those zones defined first, even just mentally, changes every decision that follows.
How to Set Up a Campsite: An 11-Step Process That Works Every Time
Setting up a campsite well is a learnable sequence, not a talent. Follow these steps in order, and you'll arrive at a functional, safe, comfortable camp every time.
Step 1: Choose the Right Campsite Before You Unpack
Pick your site before touching a single piece of gear.
Walk around the full site and assess: Is the ground relatively flat? Is there natural drainage away from where you'd sleep? Are there dead branches overhead (called "widow makers") that could fall in the wind? Is there an existing fire ring rather than bare ground?
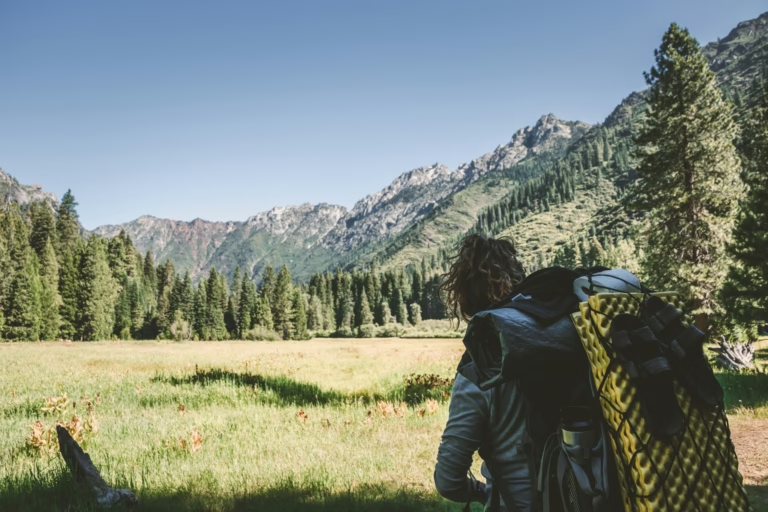
In a developed campground, your site is usually pre-assigned, but you still need to survey it before setting up. In dispersed or backcountry camping, choosing the right patch of ground is the most important decision of the whole process. Leave No Trace guidelines recommend camping on durable surfaces like rock, gravel, or established sites whenever possible.
Step 2: Plan Your Campsite Layout
Mentally map the zones before unpacking anything.
Stand in the center of your site and figure out: where does the wind come from? Where does the afternoon sun hit? Where's the path to water? Where will the rain drain?
A classic zone arrangement keeps the tent upwind of the kitchen, the food storage at least 200 feet from both the tent and the cooking area, and the fire downwind and at a safe distance from all other zones. Sketch it roughly if it helps; experienced campers often do this automatically, but doing it consciously as a beginner makes a huge difference.
Step 3: Set Up the Tent in the Best Spot
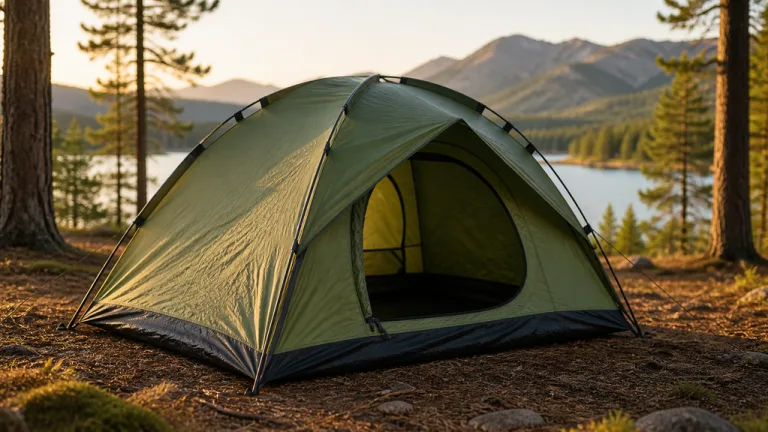
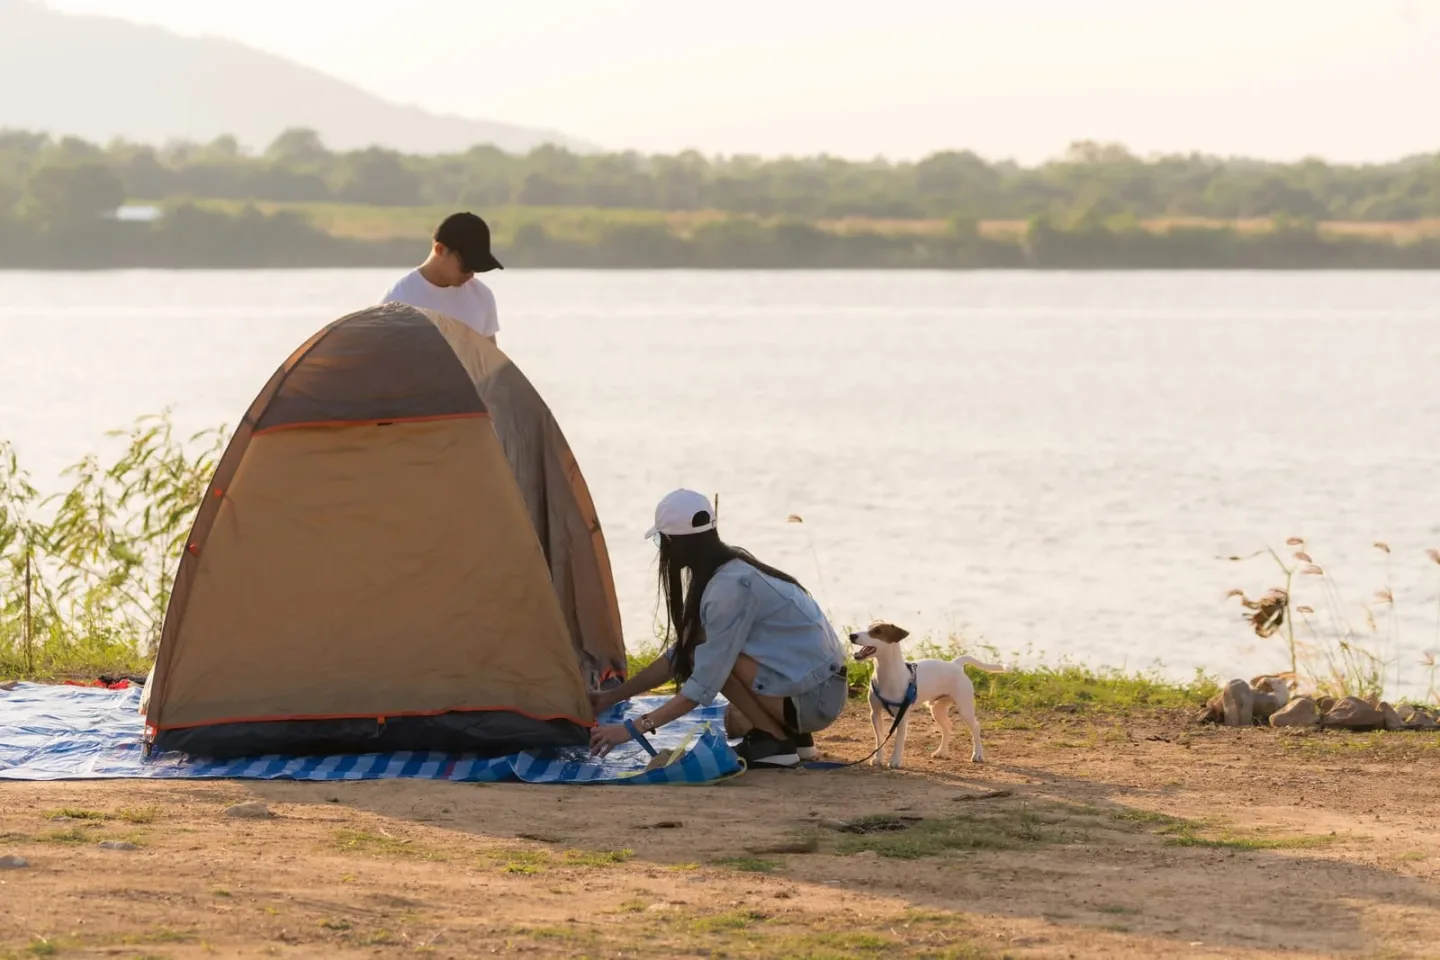
Pitch the tent with the door facing away from the prevailing wind and toward the most useful view or access path.
A common mistake is pitching toward the nicest view without checking wind direction; you'll spend the night fighting a flapping door and cold drafts.
Place the tent on the flattest available ground, ideally with a very slight slope directing water away from the floor. Clear any rocks, sticks, or pinecones from under the footprint before laying it down; they create pressure points through the night that you'll feel by 2:00 AM. Stake all corners and guy lines even if the weather looks calm; conditions change fast.
Step 4: Build a Practical Sleeping Area
Set up your sleeping system inside the tent immediately after pitching it, while the interior is still clean and organized.
Inflate or unroll sleeping pads, set up sleeping bags, and arrange any items you'll need during the night (headlamp, water bottle, phone, camp shoes) within arm's reach of your sleeping spot.
Keeping the tent interior organized from the start prevents the slow entropy that turns tent floors into gear swamps by day two. Designate one corner for shoes and wet gear only, and keep it consistent. A small interior lantern or hook for a headlamp makes nighttime navigation dramatically easier.
Step 5: Set Up the Camp Kitchen Safely
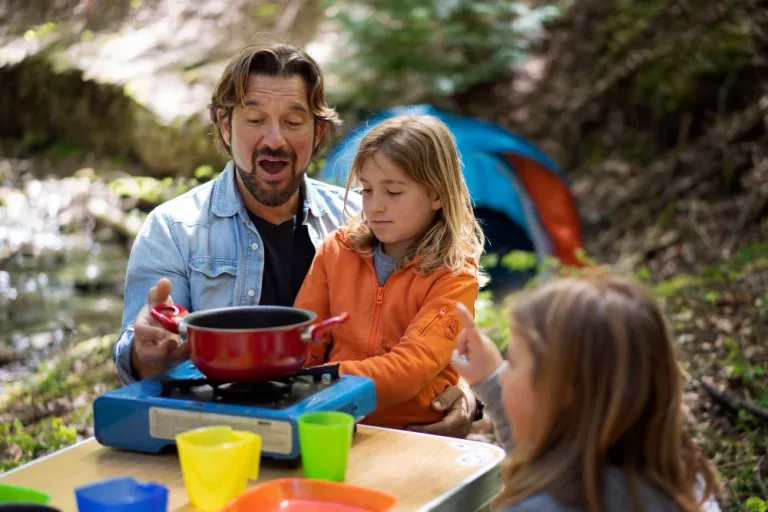
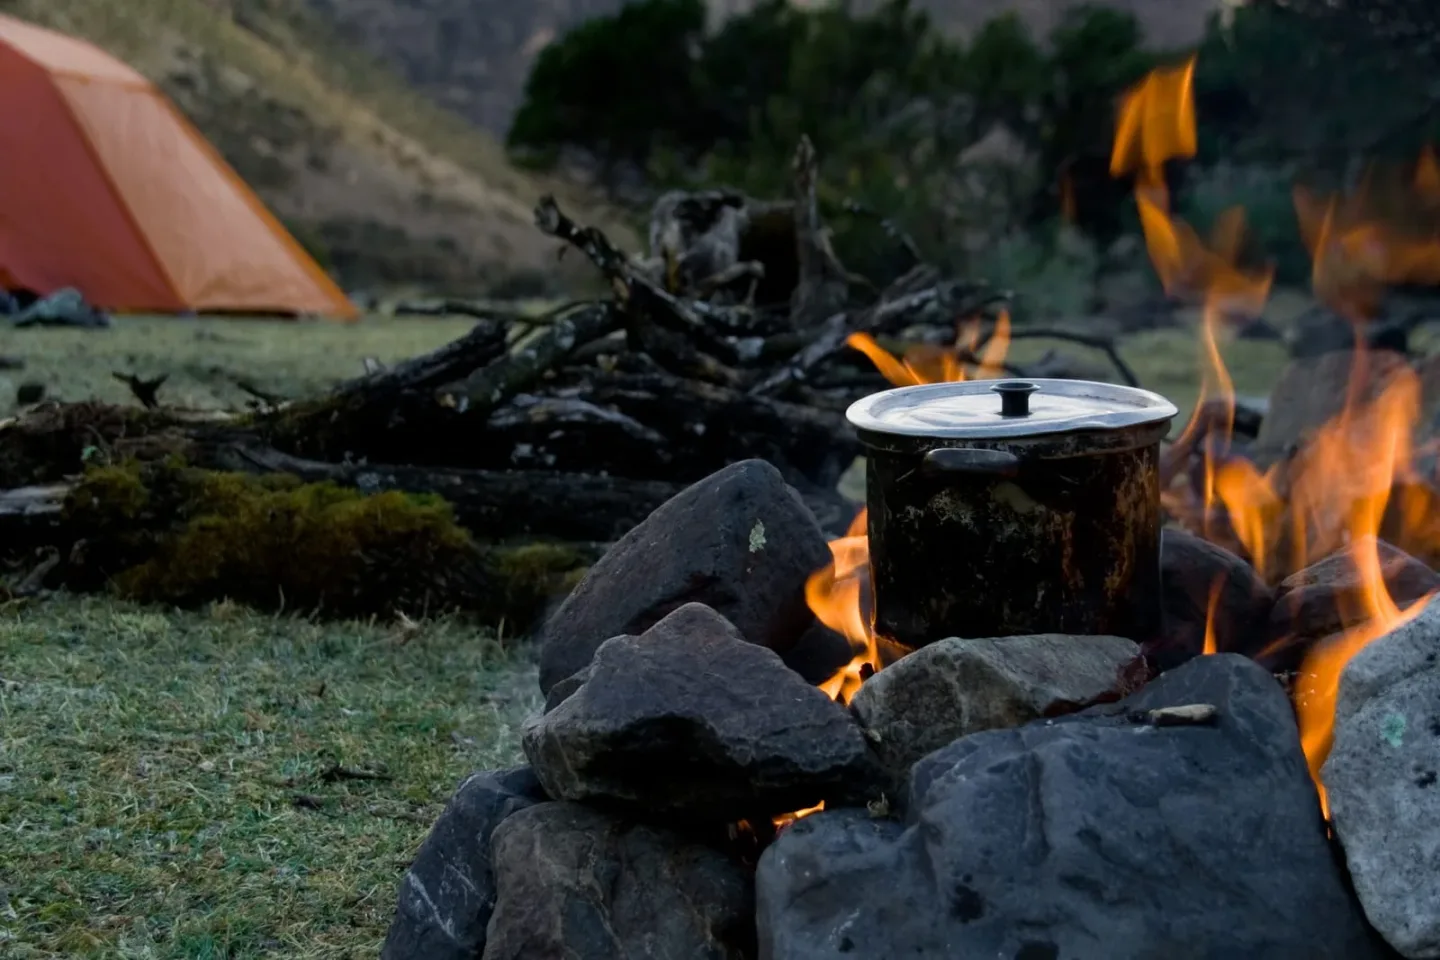
Place your kitchen at least 100 feet from your tent and downwind of your sleeping area.
Cooking smells are the primary wildlife attractant in camp, and keeping the cooking zone well separated from your sleeping zone is both a safety practice and a comfort one; you don't want to smell last night's dinner while trying to sleep.
Set your stove on a stable, level surface, a flat rock, a picnic table, or a dedicated stove stand. Never cook inside a tent or vestibule, even in rain. Carbon monoxide from a camp stove builds quickly in an enclosed space and has caused fatalities in exactly that scenario. If the rain is heavy, a tarp rigged over the kitchen area is the right solution.
Step 6: Store Food and Scented Items Correctly
All food, trash, and scented items, including toothpaste, sunscreen, and lip balm, must be stored at least 200 feet from your tent, in a bear canister, hang bag, or park-provided food locker.
This is a legal requirement in many national parks and wilderness areas, and violations carry real fines.
The triangle method is the standard for backcountry food storage: keep the tent, kitchen, and food storage at the three points of a triangle, each at least 200 feet apart. In developed campgrounds, use the bear boxes provided at each site; they exist precisely because wildlife learn camp food patterns quickly and reliably.
Step 7: Set Up the Fire Area Responsibly
Use the existing fire ring if one is present.
Creating a new fire ring on bare ground damages the site and is prohibited in most campgrounds and many dispersed areas. If no ring exists and fires are permitted, clear a 10-foot diameter area of all combustible material down to bare mineral soil before starting any fire.
Keep a water source or a full water bottle within arm's reach of the fire at all times. Never leave a fire unattended, not even for a few minutes. A fire that looks dead can reignite in wind, and fully extinguishing a campfire means pouring water until it's cold enough to touch with your bare hand.
Step 8: Create a Clean Washing and Trash System
Set up a dishwashing and handwashing station at least 200 feet from any water source and away from your sleeping area.
Two collapsible basins work well: one for washing with biodegradable soap, one for rinsing. Strain out food particles from wash water and pack them out with trash. Dumping gray water directly on the ground attracts animals.
Hang or store a trash bag in the same secure location as your food. Loose trash in camp is one of the fastest ways to attract everything from ravens and squirrels to raccoons and bears. A closed, odor-proof trash bag stored away from your tent keeps camp clean and wildlife uninterested.
Step 9: Organize Gear So Camp Stays Functional
Put every piece of gear in a consistent, designated spot from day one.
Experienced campers develop systems: headlamp always by the tent door, camp shoes outside the tent vestibule, cooking gear always in the kitchen bag, rain gear accessible at the top of the pack. When everything has a place, you spend zero time searching for things, especially useful in the dark or in bad weather.
Keep a dry bag or stuff sack for wet and muddy gear and keep it outside the tent. Wet gear inside the tent creates condensation, moisture buildup, and the general misery of a wet sleeping bag.
Our camping essentials checklist can help you build a complete packing system before the trip.
Step 10: Make the Campsite Comfortable
Small comfort upgrades make a meaningful difference over a multi-night trip.
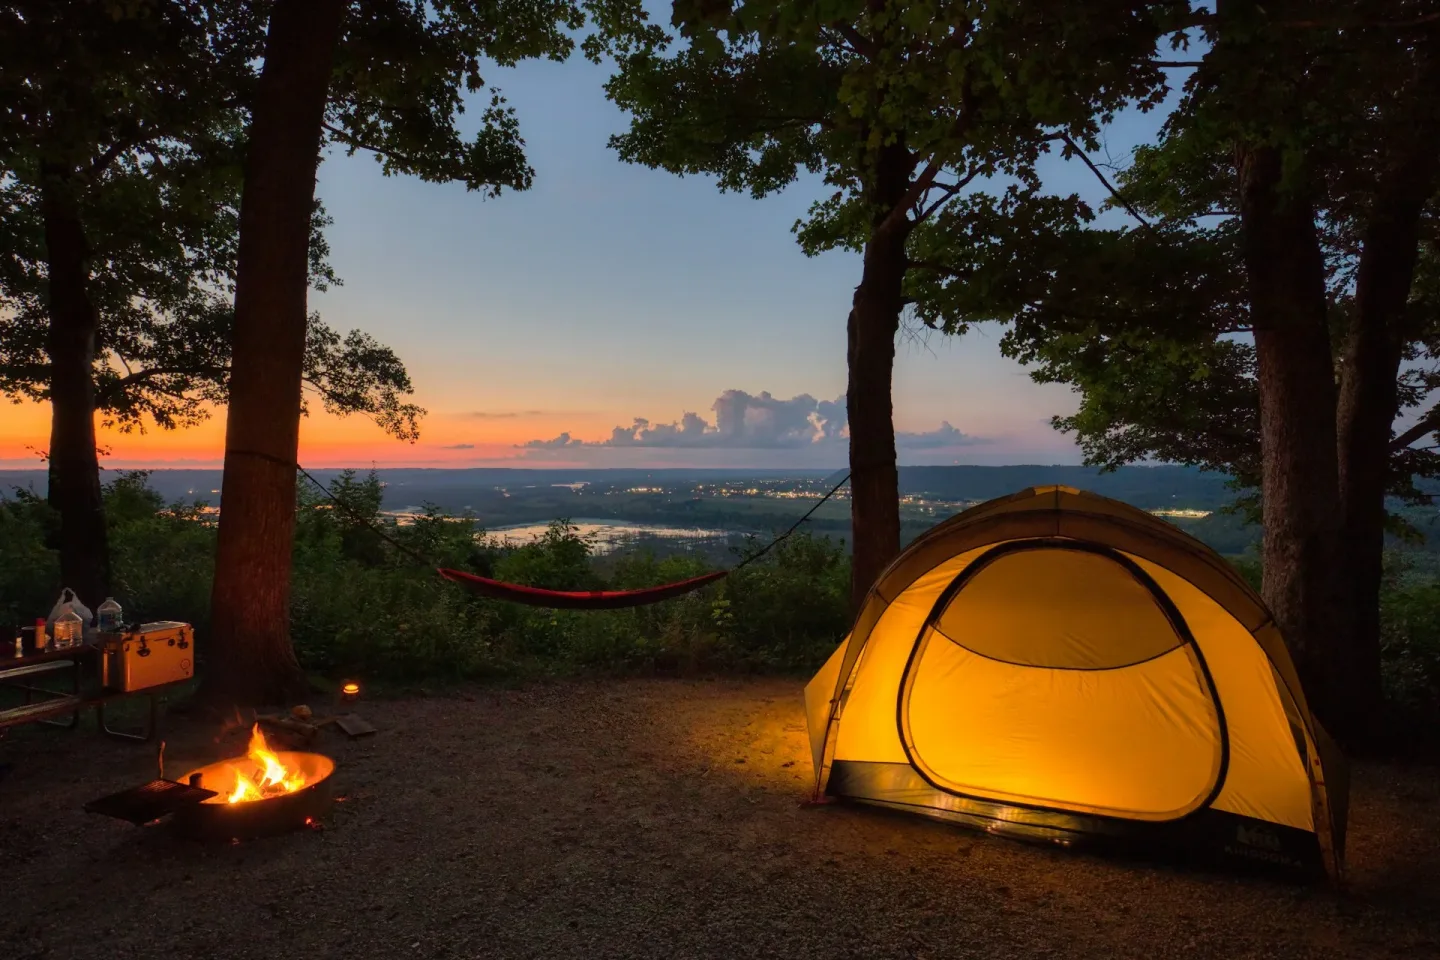
A camp chair positioned near the fire zone, a lantern hung at head height in the cooking area, a small rug or mat outside the tent door to knock off mud- none of these are luxury items; they're functional improvements that make daily life in camp easier.
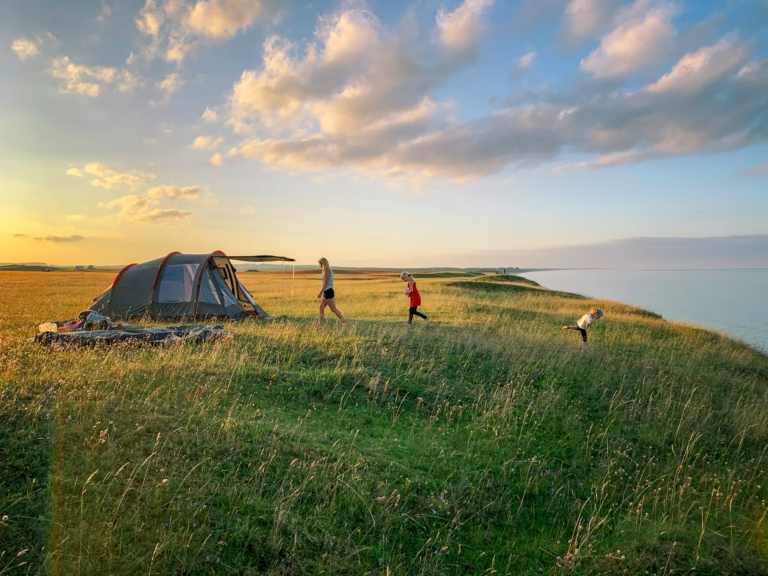
For family camping, clear sight lines between the tent and the kitchen zone matter for keeping an eye on kids. For solo camping, a consistent camp layout reduces decision fatigue so you can actually relax.
For tips on finding the right gear for your camping style and group size, our guide to finding great campsites for families covers the setup considerations that matter most when kids are involved.
Step 11: Do a Final Safety Check Before Dark
Walk the full campsite before it gets dark and do a deliberate check of every zone.
This is the step most campers skip and the one that prevents the most problems.
Quick pre-dark checklist:
- Tent staked and tensioned properly, gear inside
- Food, trash, and scented items locked away from the sleeping area
- Fire fully extinguished or under active supervision
- Stove off and fuel canister stored away from heat sources
- Water bottles filled for the night
- Headlamp accessible from inside the tent
- No loose gear or food items left out on the picnic table
Running this check in daylight takes five minutes. Doing it in the dark with a headlamp takes twenty, and you'll still miss things.
What Are the Biggest Campsite Setup Mistakes That Ruin Trips?
Even experienced campers make setup errors, but a few mistakes come up repeatedly and are worth knowing before your first trip.
- Setting up on low ground. Flat-looking ground near a meadow or water source often collects runoff during rain. Even a light overnight shower can turn a low campsite into a shallow puddle by morning. Always check the slope around your site before committing.
- Pitching too close to water. Most Leave No Trace guidelines and park regulations require camping at least 200 feet from lakes, rivers, and streams. Camping too close damages riparian vegetation, contaminates water sources, and puts you directly in the path of wildlife that use those areas most.
- Skipping tent stakes because "it looks calm." Wind arrives at night without warning, especially in mountain environments. An unstaked tent can collapse or blow over, ruining your night and potentially damaging the tent. Stake every corner, every time.
- Leaving a lantern or light source inside the tent overnight. This is a fire risk, especially with candle lanterns, and a significant wildlife attractant in some environments. Use a headlamp inside the tent and store battery-powered lanterns in the vestibule or kitchen zone.
For a deeper dive into staying safe and prepared in unpredictable conditions, our camping safety guide covers emergency preparedness and prevention in practical detail.
The Bottom Line: Plan the Flow First, Then Build the Camp
The single most important insight in this guide is that experienced campers set up camp in a deliberate order, starting with a zone plan, not a tent. Every decision that comes after (where the kitchen goes, how far the food storage is, which direction the door faces) flows naturally from that initial layout.
Keep sleeping, cooking, food storage, fire, and washing areas intentionally separate. A well-organized campsite protects your gear from weather and moisture, reduces wildlife conflicts, improves sleep quality, and makes the whole trip run more smoothly. The setup takes 30-60 minutes, done well. That investment pays back every single hour you spend in camp.
Frequently Asked Questions
How long does it usually take to set up a campsite?
A practiced solo camper can usually set up a campsite in 20–30 minutes. Two people working together can often complete setup in 15–25 minutes. First-time campers should allow 45–60 minutes to understand tent setup, organize gear, and establish a functional campsite layout without rushing. Practicing in daylight makes the process significantly easier.
Should you set up your tent before or after your kitchen area?
Always set up your tent first. Your shelter is the priority because it protects your sleeping system and establishes your base. Once your tent is secured, you can then set up your kitchen area at a safe distance to separate sleeping and cooking zones, which improves safety and organization.
How far should food be stored from your tent?
Food, trash, and scented items should be stored at least 200 feet (about 70 adult steps) from your tent and cooking area. This spacing follows Leave No Trace principles and is required in many wilderness and national park areas. When available, bear boxes should always be used regardless of perceived wildlife risk.
What should you do first if you arrive at camp after dark?
If you arrive after dark, focus on essentials only: find a flat, safe spot, pitch your tent, and set up your sleeping system. Keep food sealed in your vehicle or a bear canister until morning. Use a headlamp for visibility and avoid rushing. Complete full campsite organization the next day when conditions are safer and visibility is better.
Can you set up a campsite in the rain?
Yes, but preparation is key. Set up a tarp or rainfly first to create a dry workspace, then pitch your tent underneath or nearby. Use a ground cloth to prevent moisture from seeping through the tent floor. Keep sleeping gear in waterproof storage until the tent is fully set. Work methodically rather than quickly to avoid setup errors in wet conditions.